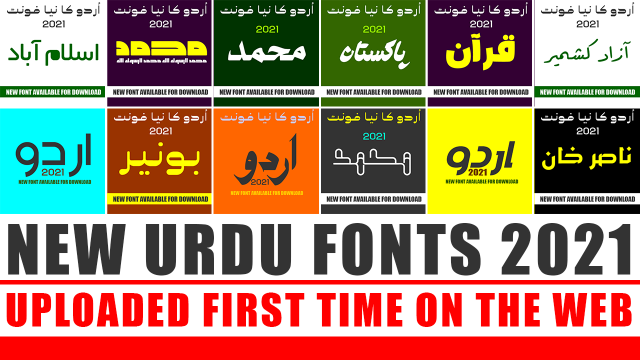
How To Install Urdu Fonts In Android Phone – Download Latest Fonts
 |  |
 |  |
 |  |
Hello everyone and welcome to the MTC TUTORIALS. Today’s topic is how write Urdu in Android Phone. There are many App’s available in Google Playstore but non of them are supported for custom fonts.
Scroll Down To The Download Section
So Today i am gonna show that “How Can We Write Urdu/Arabic In Mobile Phone” and how can we install Urdu fonts to Android Phone. This article is all about Installing and writing Urdu fonts in Android.
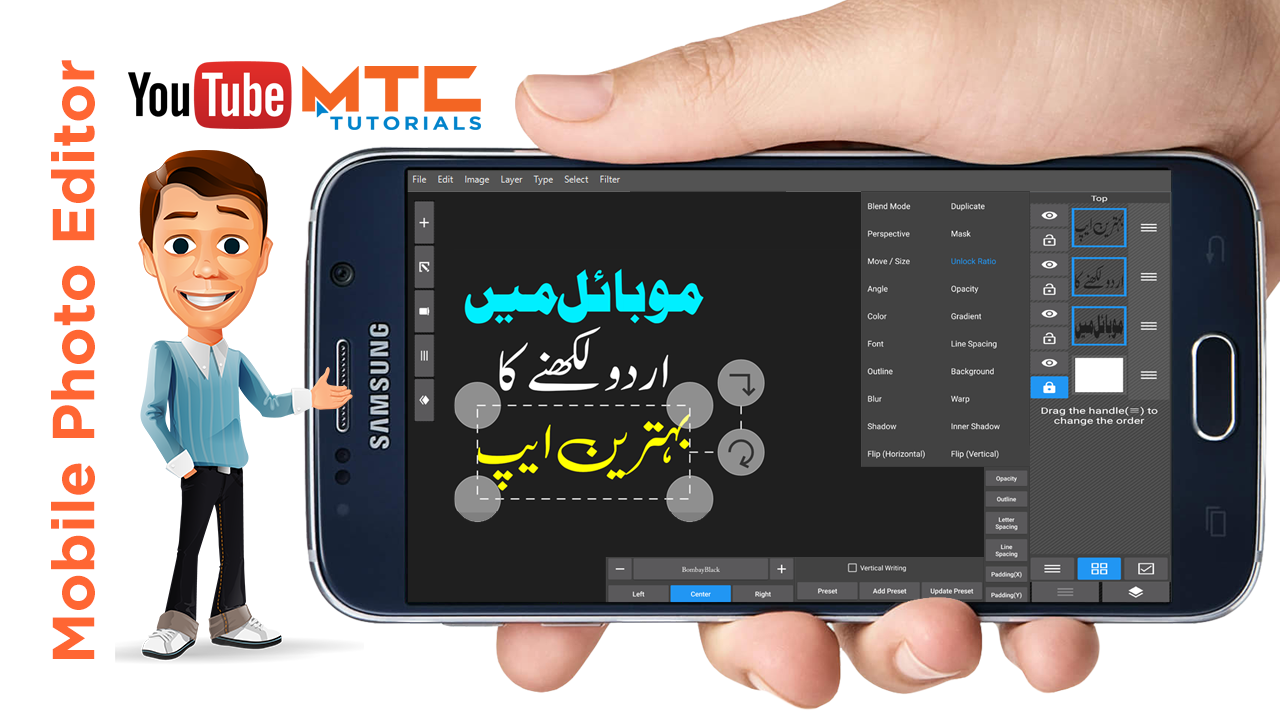
Urdu Fonts Supported Android App:
Scroll Down to the download section below
So, The name of this App is the “Photo Editor”, yes this photo editor is very powerful, all Photoshop and CorelDraw functions and tools are available in this app. The Photo Editor i am talking about is very appropriate for graphics designers and photo editors.

Download Photo_Editor Now
The photo Editor is a small but powerful photo editing application. If you have some knowledge of Photo Editing and photography, so you can do a lot with this Application. Use this Application to make photos of your android phone just like you would working on Photoshop on a Personal Computer.
Scroll Down To The Fonts Download Section
Features Of Photo Editor:
- There are saturation, contrast, brightness, temperature, hue and tint.
- There are Curves & Levels. Moreover
- A lot of effects like, sepia, contrast, sketch, black and white, blur, oil paint, tone, gamma correction, and much more. Moreover
- Adding images, shapes and texts.
- Frame, Denoise, Drawing, Pixel, Clone, Cut Out.
- Perspective, lens, red-eye, white balance. Then
- backlight and more.
- Easily edit with the touch and pinch. Then
- Save images in different formates like, JPEG, PNG, and GIF. Moreover
- You cam Save your final result to your gallery, as wallpaper. Moreover
- Share photos in social media.
Steps Of Installing Urdu Fonts In Photo Editor:
Step 1: Open Photo Editor and tap on New document icon as shown in image 01
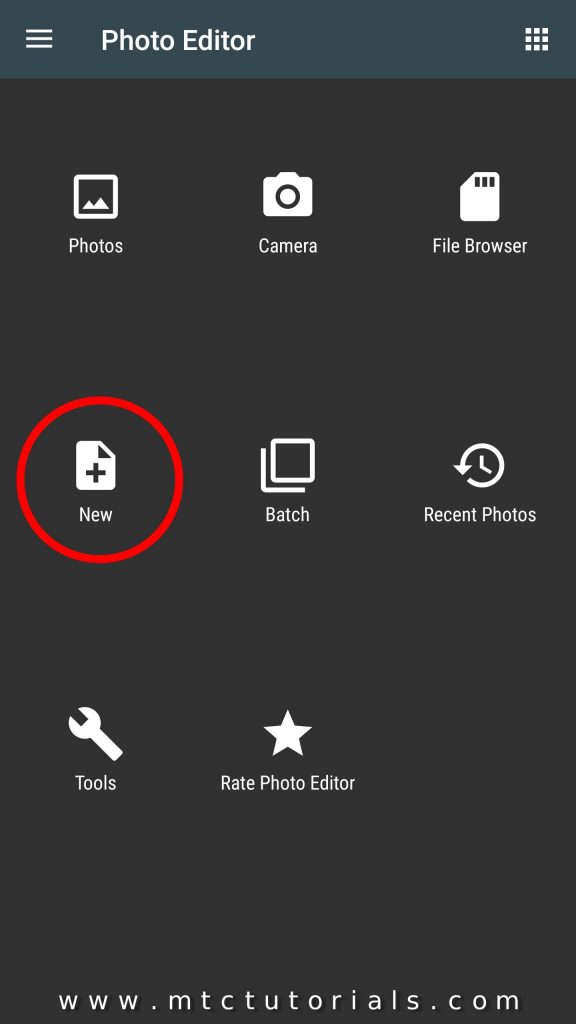
Image 01 – Creating a new document in Photo Editor
Step 2: Set screen resolution, background color and then OK. See image 02
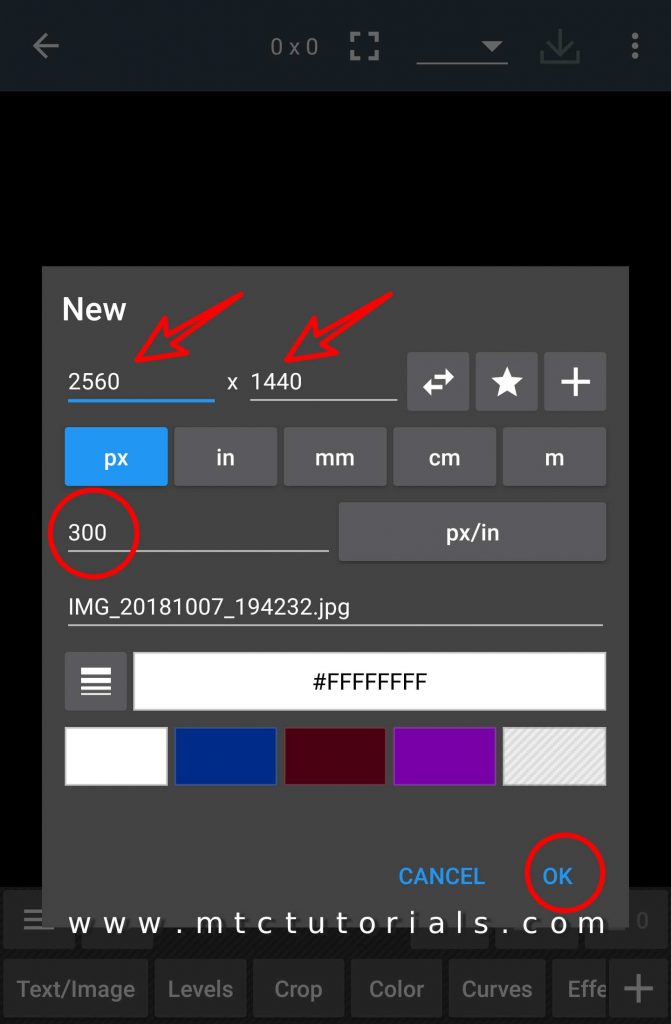
Image 02 – Setting up new document
Step 3: Select ‘l”Text/Image” button from buttom menu. See image 03
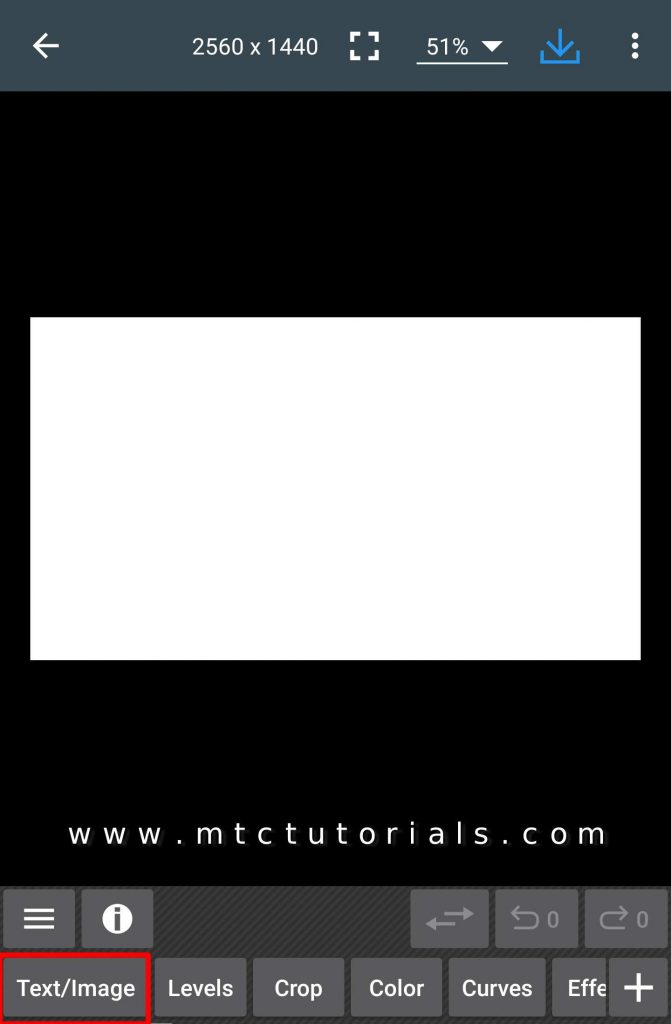
Image 03 – Adding Text and applying fonts
Step 4: Now new menu is appeared select plus sign [+] l. See image 04
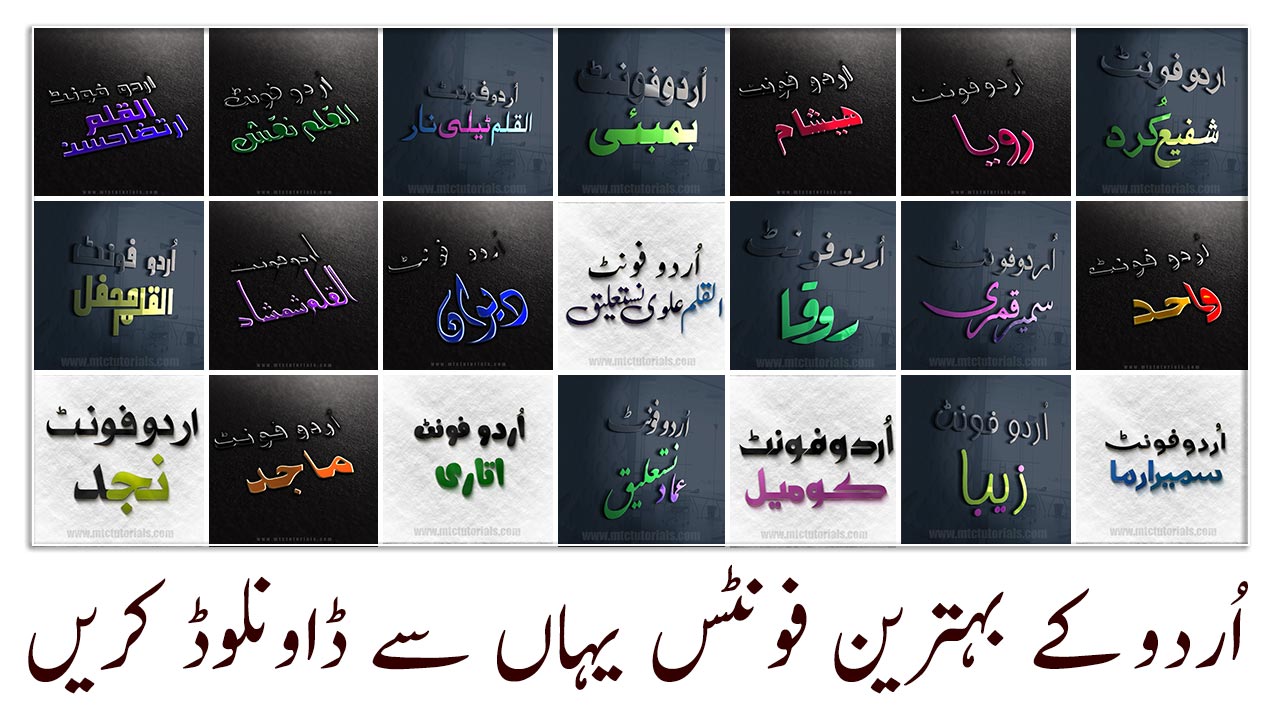
Download free fonts
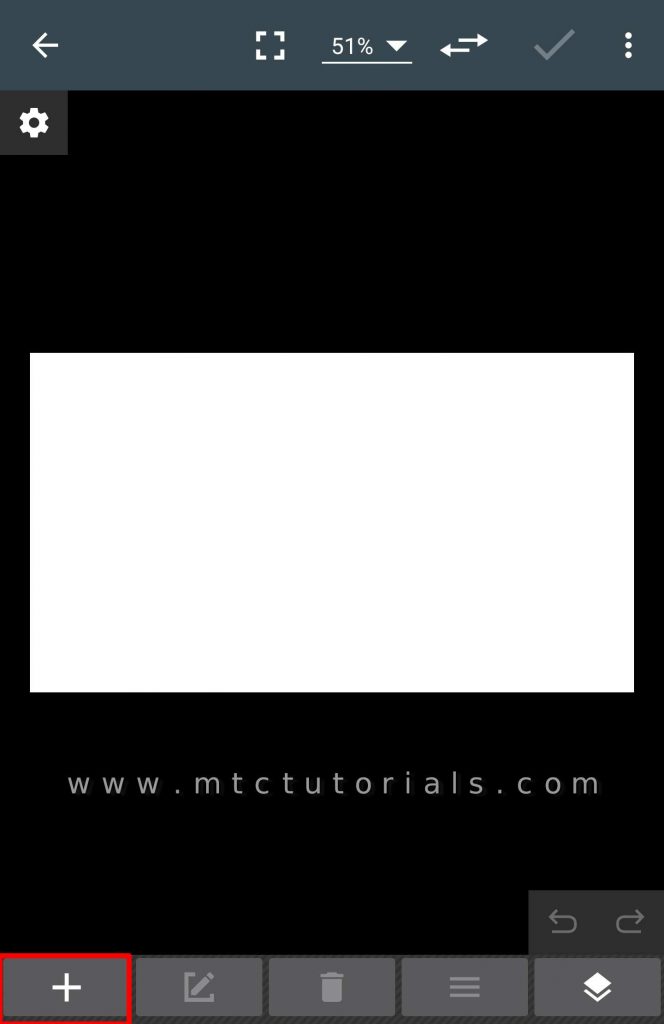
Image 04 – Typing Text and installing fonts
Step 5: After taping the Plus[+] sign new drop up menu will appeare, select the [Tt] icon as shown in image 05
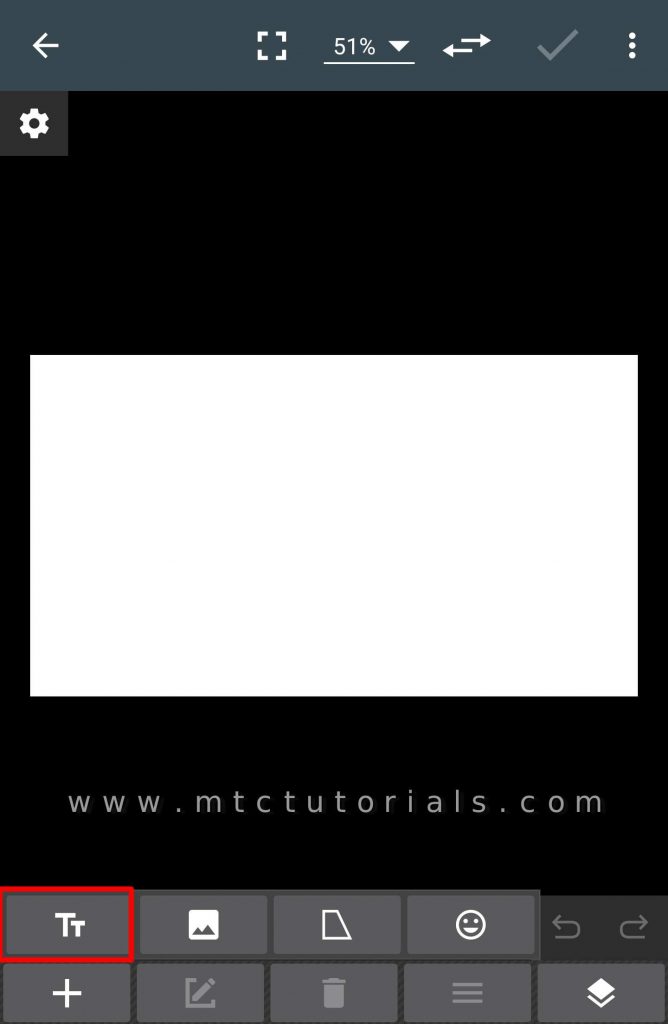
Image 05 – Typing Text and installing urdu fonts
Step 6: Now you are in the text editor, type text in the text box and tap Properties. See image 06
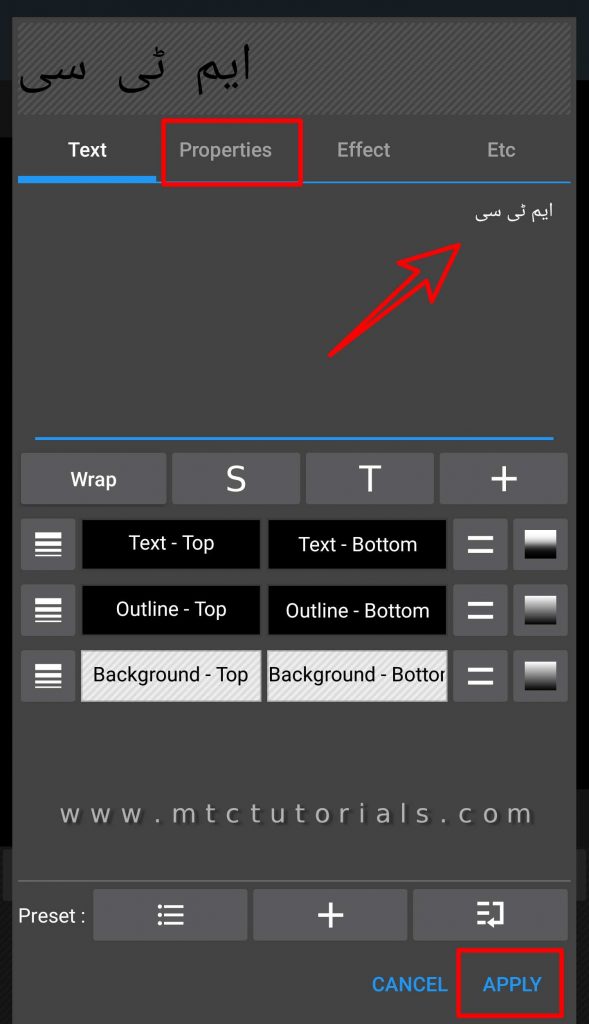
Image 06 – Typing Urdu text and properties
Step 7: These are all text properties, like outline, letter spacing, line spacing, padding, alignment and opacity. In this menu you can also change the font style. Click here, see image 07
Download free fonts
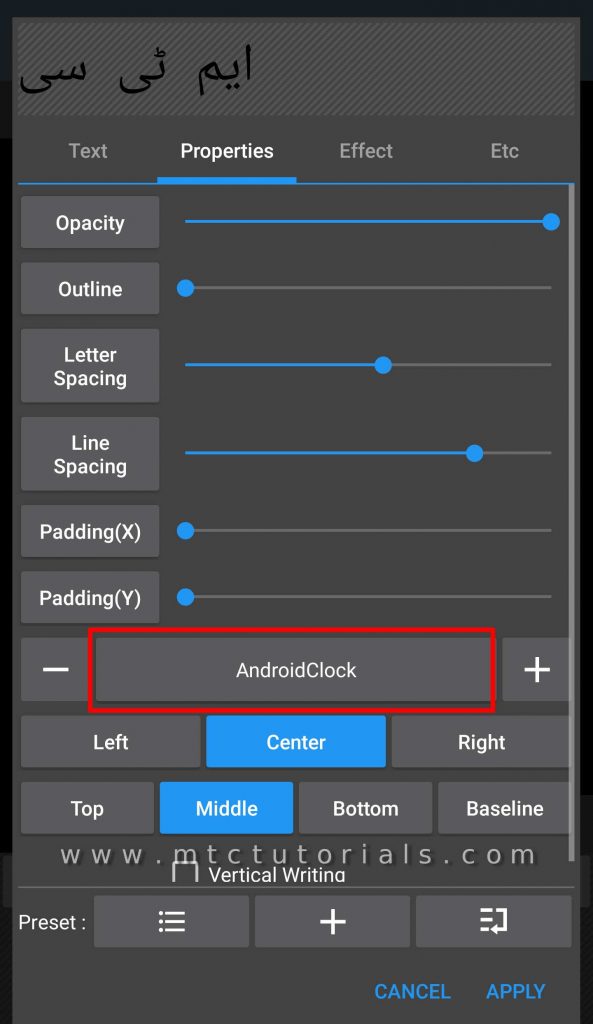
Image 07 – Finding Urdu fonts folder
Step 8: You can see there is some built-in system fonts, we don’t need these fonts so tap on Custom. See image 08
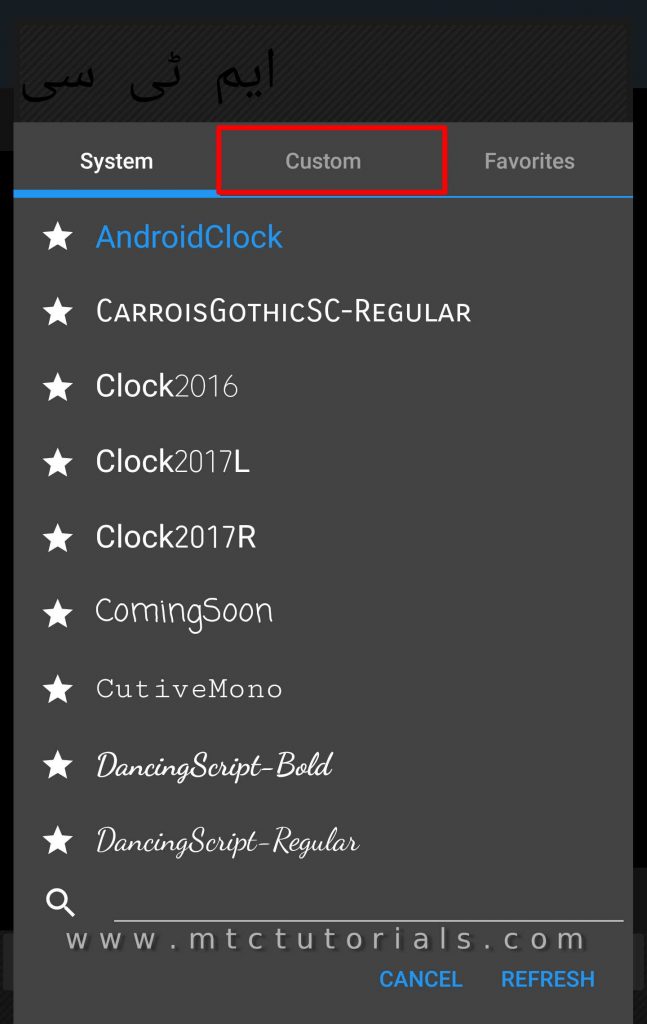
Image 08 – Custom fonts
Step 9: Now find the font folder that you downloaded from this site. See image 09
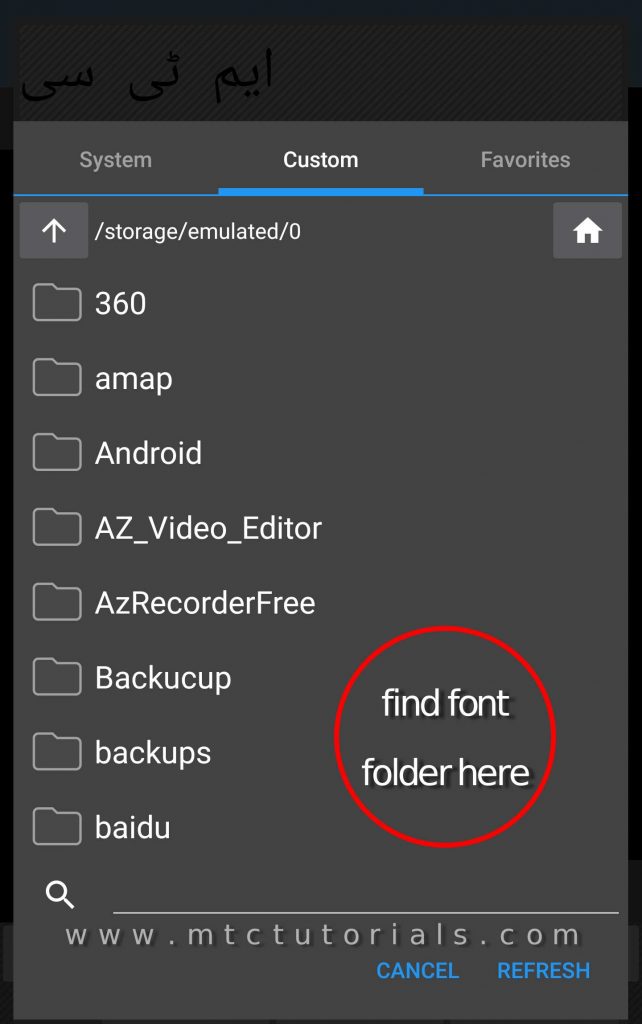
Image 09 – fonts folder finding
Step 10: After opening the font folder select your desired font and them apply. See image 10
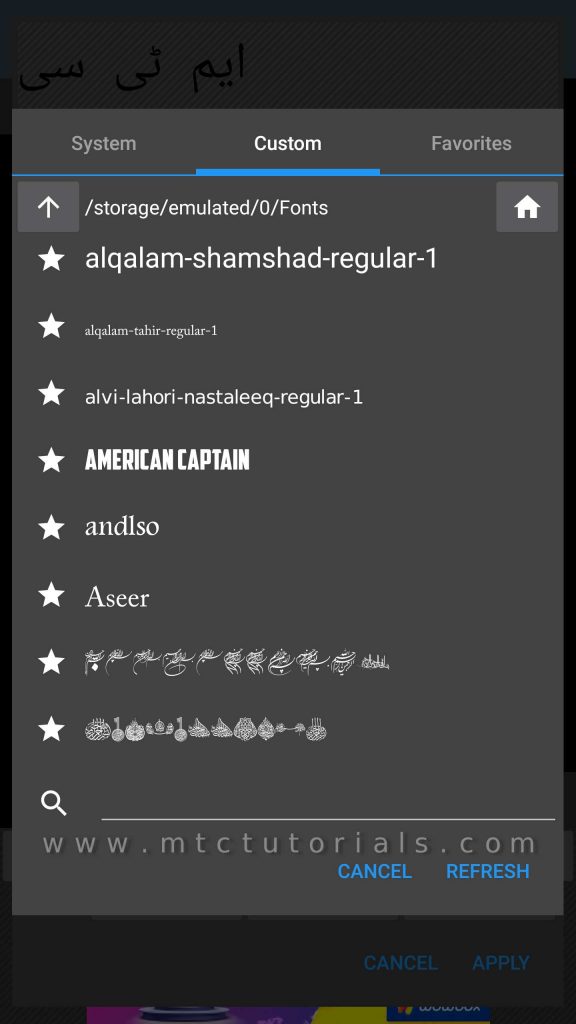
Image 10 – finel 1


Moreover more watch these Tutorials below, i hope you will learn a lot by watching these videos. Thanks for reading this Article. Keep watching my videos and please don’t forget to Subacribe my YouTube channel. Thanks again for love and support.
Android Video Editor With Built-in Urdu Fonts
| |
| |